Project 1: Counting Clicks
Under construction
This page is under construction - information may be incomplete or missing.
Using everything we've learned so far, let's build a complete UI to see how Fusion's basic tools work together in a real project.
Required code
1 2 3 4 5 6 7 8 9 10 | |
Building The UI
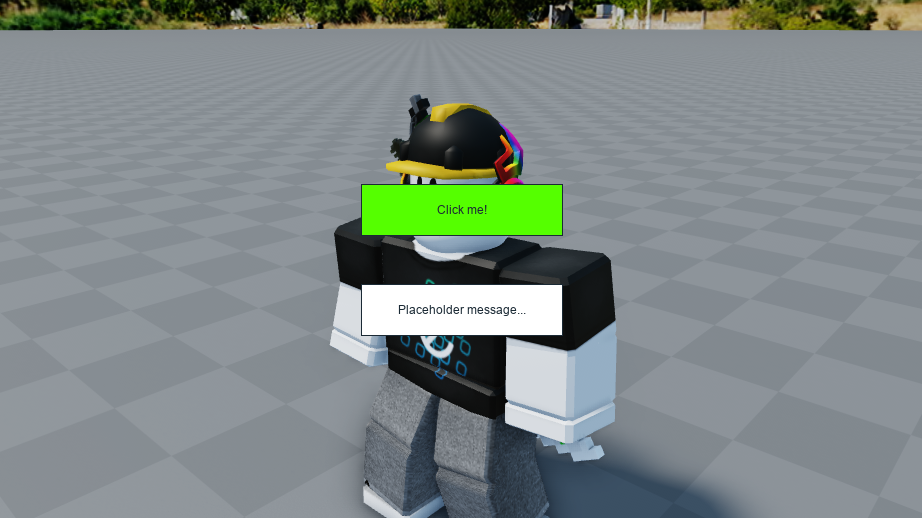
We'll be creating a button which shows how many times you've clicked it - this is often used as an introductory UI example for many libraries and frameworks because it involves UI, event handling and state management together.
We'll start by creating a ScreenGui to contain our button:
1 2 3 4 5 6 7 8 9 10 11 12 13 14 15 16 17 | |
Next, we'll create a TextButton we can click, and a message TextLabel which will eventually show how many clicks we've performed:
12 13 14 15 16 17 18 19 20 21 22 23 24 25 26 27 28 29 30 31 32 33 34 35 36 37 38 39 40 41 | |
With just these three instances, we have enough to work with for the rest of this tutorial. Running the above script gives us this:
Adding State
Now, let's add some state to make our UI dynamic. Let's start with a state object to store the number of clicks:
12 13 14 15 16 17 18 19 20 | |
Now, we can replace the placeholder text with some computed state, to turn our number of clicks into a fully-formed message:
29 30 31 32 33 34 35 36 37 38 39 40 41 42 43 44 45 | |
You'll now notice the message's text reflects the number of clicks stored in
numClicks:

Listening for Clicks
Now that we have our UI in place and it's working with our state, we just need
to increment the number stored in numClicks when we click the button.
To start, let's add an OnEvent handler for the button's Activated event. This
will run when we click the button:
    [Children] = {
        New "TextButton" {
            Name = "ClickButton",
            Position = UDim2.fromScale(.5, .5),
            Size = UDim2.fromOffset(200, 50),
            AnchorPoint = Vector2.new(.5, .5),

            BackgroundColor3 = Color3.fromRGB(85, 255, 0),

            Text = "Click me!",

            [OnEvent "Activated"] = function()
                -- the button was clicked!
                -- TODO: increment state
            end
        },

        New "TextLabel" {
Then, to increment the state, we can :get() the number of clicks, add one,
then :set() it to the new value:
    [Children] = {
        New "TextButton" {
            Name = "ClickButton",
            Position = UDim2.fromScale(.5, .5),
            Size = UDim2.fromOffset(200, 50),
            AnchorPoint = Vector2.new(.5, .5),

            BackgroundColor3 = Color3.fromRGB(85, 255, 0),

            Text = "Click me!",

            [OnEvent "Activated"] = function()
                -- the button was clicked!
                numClicks:set(numClicks:get() + 1)
            end
        },

        New "TextLabel" {
That's everything - try clicking the button, and watch the message change in response:

If you've managed to follow along, congratulations - you should now have a good understanding of Fusion's fundamental concepts!
With just these tools alone, you'll be able to build almost anything you can think of. However, Fusion still has more tools available to make your code simpler and easier to manage - we'll cover this in 'Further Basics'.